Mission: build a HiFi media centre PC
Objective - build a Media Centre PC that out put HD sound and video utilising the HDMI digital format. Must be able to record 2 channels simultaneously (the Olympics is coming up!)
Budget - there wasn’t one – though there's only so much you can spend doing this.
Parts
- Zalman HD160XT Plus Home Theatre Case Black
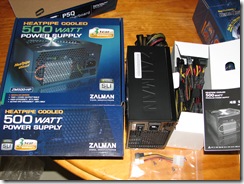
- Zalman 500W Noiseless Power Supply with Heatpipe
- Zalman CNPS9500 LED CPU Heatsink
- Intel S775 Core 2 Duo E8500 3.16GHz CPU
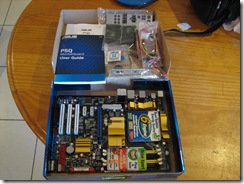
- ASUS S775 P5Q Core 2 Motherboard
- Integrated HD Sound Card
- Integrated Gigabit Network Connection
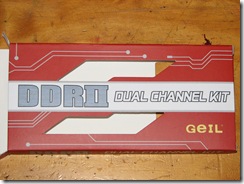
- DDR2 4GB Geil 800MHz Dual Channel DDR2 Kit
- 1TB Seagate 7200rpm 32M Serial ATA HDD
- 1TB Seagate 7200rpm 32M Serial ATA HDD
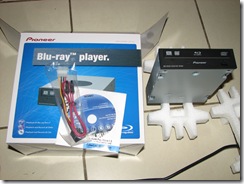
- Pioneer BDC-S02BK Blu-Ray Reader/DVD Writer Combo
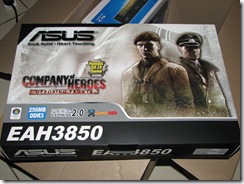
- ASUS ATI 3850 256M PCIe HDMI Video Card
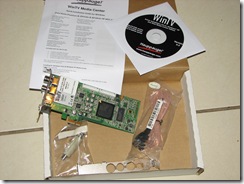
- Hauppauge HVR-2200 Dual HDTV + Analog Tuner PCIe
- Microsoft Media Centre Keyboard and Remote
- Logitech Cordless Mouse
- Powerware 5110/500VA Line Interactive UPS
- Vista Ultimate 32 bit
Construction
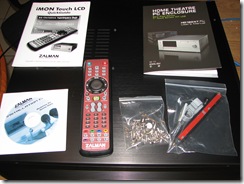
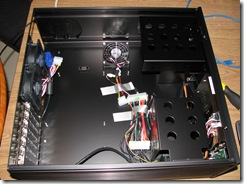
I started by getting the case out of its box and pulling the cover off. It was beautifully constructed in a satin finish black aluminium with counter sunk flush screws holding the top lid on. Immediately I was impressed with the quality of the construction. This is not a cheap case and the build certainly did not disappoint (except for the Optical drive bay - more on that later)
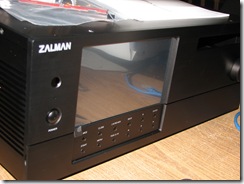
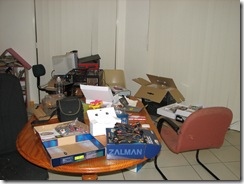
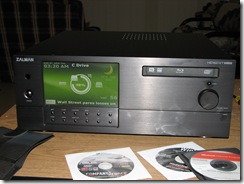
The optical drive bay and the HDD drive bay are held with one screw and a sliding bracket. Very secure and easy to remove. The case came with the fron touch screen already fully installed and connected. All I had to do was connect the Power LED and Switch to the Motherboard along with the front panel audio, FireWire, USB and card reader. I forgot to take a picture of the dropdown front panel here but you can see it in the last picture of this article. I have included a shot of my workspace while I was doing all this. I took over both dining room tables.
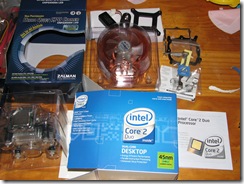
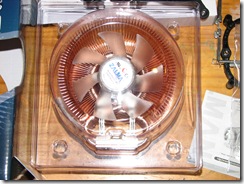
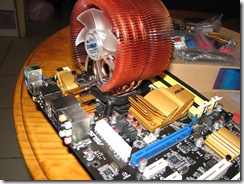
Next came the motherboard installation. As usual I installed the CPU first and then looked to install the CPU cooler. I always dummy run thee things because they are far easier to install out of the case then in and it make sense to ensure that there is clearance etc. In this case I was fairly confident there would be top clearance for the large Zalman CPU cooler seeing as the website I reviewed the case on suggested this cooler. In fact there were about 5 mm clearance. However I had a far worse problem.
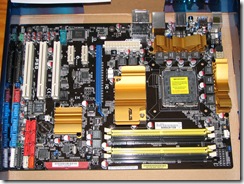
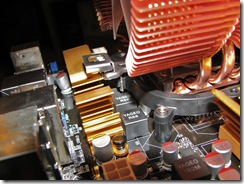
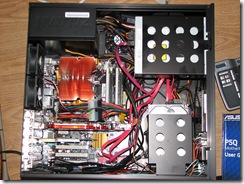
The motherboard is an ASUS P5Q and comes with the capacitors on two sides of the CPU area and blank space on the other two sides. Unfortunately The CPU cooler mounting clip would not clear these capacitors. Some I put in some hard work with a bastard file on the tempered steel and ended up removing about 0.75mm of excess metal on the bottom of the clip. This gave me a few thou clearance over the capacitors onto the clip. Once pulled tight on the clip it has about 1 mm clearance. The second photo here shows this clearly. The clip is also actually touching the heat sink fins but I am sure that will not matter.
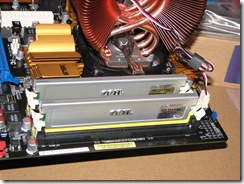
Next step was to mount the RAM onto the motherboard and then screw the motherboard into the case. This was very easy to do. first I fitted the back plate and then the motherboard goes in very easily and screws in nicely. The Power supply unit was next and I was very surprised here. The case is designed so the PSU goes in upside down. Normally PSU fans suck air from inside the case and then exhale out the rear. This case requires the PSU to be mounted so the inwards fan is against the outside edge of the case – where there happens to be cooling fins and a vent and so it draws external air in and ejects it from the rear as per normal. However this means that the air it is pulling in will be cooler than normal and thus require less cooling from the heat build up inside the PSU and here the fan will run slower and quieter. At least this was my assumption as to this design method. But it makes sense. The CPU fan is blowing at the rear mounted twin 80mm fans so that is plenty of suction out of the case. In my case I connected the 2 read CPU fans to the PSU and Chassis Fan one connectors on the motherboard so that they can take advantage of the BIOS Q-Fan cooling options. I set the system to run in silent mode.It is not completely quite but considering there are a total of 7 fans in it it is remarkably quiet and cool. I am copying 400GB of data to the drive via network cable as I write this and it is showing a MB temp of 27 degrees and a CPU temp of 40 degrees. The 3 chassis fans are running at around 2000RPM and the CPU cooler fan at 1300RPM. The hard drive cage fan and bottom case fan are not monitored or controlled.
I installed a Pioneer Blu Ray Player / Burner and a 2 1 Tb Seagate Hard Drives. The only annoying thing about this whole case was the supplied aluminium bevel to add to the front of the DVD tray. It didn’t fit. I fiddled and fiddled and eventually gave up. I could have taken to it with a file but I had enough of filing by this stage.
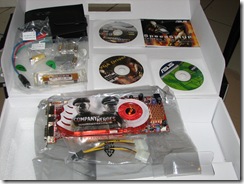
Next was installing the Video card and TV Tuner cards. The TV Tuner card came with a half height rear plate attached, but 1 screw and a lock nut removed and the provided full size back plate was installed.
Both slotted in easily with plenty of room for cooling and air flow. The TV tuner requires no extra power but this video card needed a PCIe power supply. The reason I chose this card is that it has an HDMI output including the HD sound from the motherboard. Seeing as this unit is replacing my current Digital tuner set top box with HDMI output and also my current media centre laptop I needed to get the best quality sound and video I could. This video card can actually run in a higher resolution than my projector can handle which is 1080i.
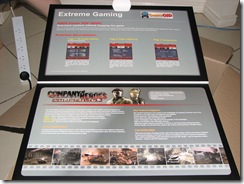
This video card came bundled with Company of Heroes Opposing Fronts.
This shot is of the completed case interior and exterior.
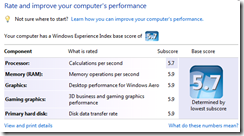
I achieved a Vista score of 5.7 which is extremely good. The only thing holding it back is the CPU which admittedly is not a high end CPU. But for this machine it doesn’t need to be.
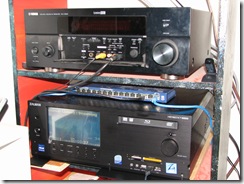
The final show below is the unit in my audio cabinet underneath the Amp/ Given the coolness of the case I have the network switch on top of this unit. You can see the dropped down front flap here exposing all the stickers and the front panel card slots.
Set up was pretty simple. After I had installed Vista and Media centre, I installed the units standard software to run the front panel info screen and decided to use the standard Windows Media Centre remote rather than the supplied remote. You can choose between them as they were both detected.
Once I had the touch screen info being displayed on the second screen (surprisingly easy to follow instructions for both nVidia and ATI cards) I turned my attention to the TV. I have been using Media centre for ages but not with a TV tuner. The TV tuner worked perfectly, scanned and gave me all my channels with labels, and then I installed the IceTV electronic program guide. We are now set up with the whole Olympics TV programs being set to record automatically, along with the AFL, NCIS and a few other shows.




Comments
whats revision of the ASUS
whats revision of the ASUS S775 P5Q Core 2 Motherboard did you use on the project. There seems to be a few different versions released
good question - how do you
good question - how do you tell?
the part number on the box is 90-MIB4P0-G0UAY00Z
Other than that I cannot help you sorry.
You are building a monster
You are building a monster there, just with the cost of the video card match the price of my whole system, i still stuck with mi Athlon XP...
Congratulations.